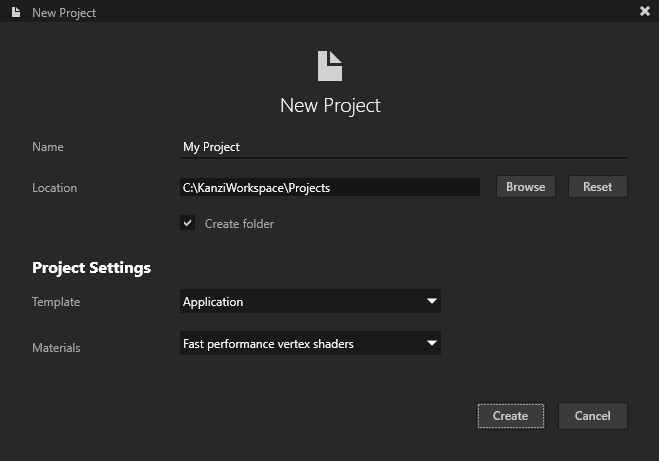
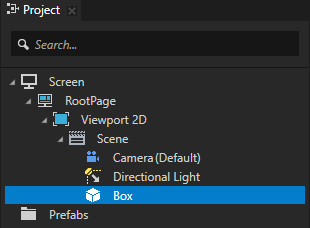
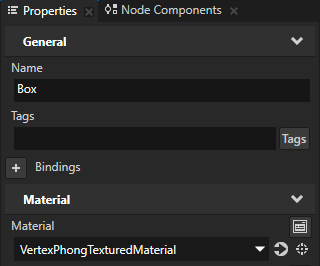
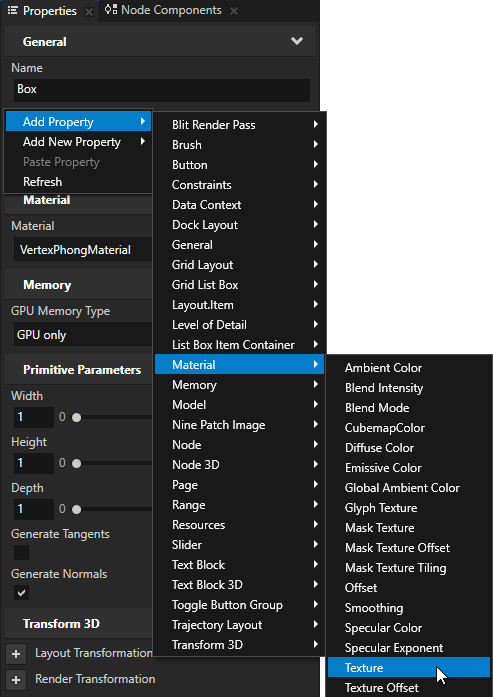
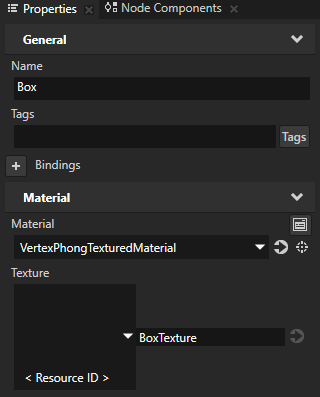
For example, in the Project create a Box node and in the Properties set Material to VertexPhongTexturedMaterial.
For example, set the Texture property to the resource ID BoxTexture.
This way you assign to the Texture property a resource ID which you later use to show a texture.
Kanzi Studio creates an alias pointing to the node from which you created the alias and adds it to the resource dictionary of its nearest ancestor node that contains a resource dictionary.
Use an Alias to get consistent access to a Kanzi node. You can use aliases to access nodes both in Kanzi Studio and using the Kanzi Engine API or scripting.
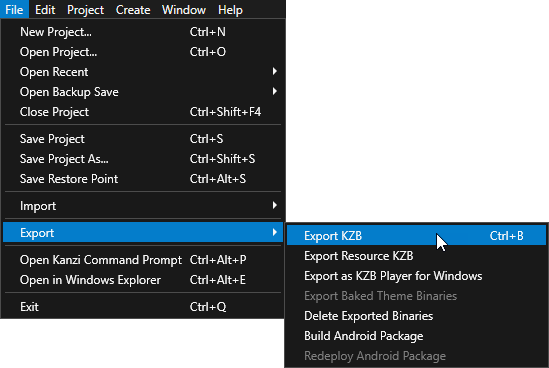
Kanzi Studio creates the kzb file and configuration files from your Kanzi Studio project. Kanzi Studio stores the exported files in <KanziWorkspace>/Projects/<ProjectName>/Application/bin or the location you specify in the Binary Export Directory property in > . The kzb file contains all nodes and resources from your Kanzi Studio project, except the resources you mark in a localization table as locale packs.
When you run your Kanzi application from Visual Studio, your Visual Studio solution reads these files to create your Kanzi application.
// In the main class of the application use the onProjectLoaded()
// virtual function to load a file from the file system.
virtual void onProjectLoaded()
{
    // Get the Screen node of your application.
    ScreenSharedPtr screenNode = getScreen();
    // Get the Box node using the #Box alias.
    Model3DSharedPtr box = screenNode->lookupNode<Model3D>("#Box");
    // Load the texture from the <ProjectName>/Application/bin directory.
    box->addResource(ResourceID("BoxTexture"), "file://./Red.png");
}For example, if you are still developing your application, select the GL_vs2015_Debug configuration. If you want to create a production version of your Kanzi application, select one of the available release configurations.

When you launch the application, Kanzi loads the image stored in <KanziWorkspace>/Projects/<ProjectName>/Application/bin and creates a texture from the image. When Kanzi loads the application kzb file, it sets the texture to the node you get in the
onProjectLoaded function.